
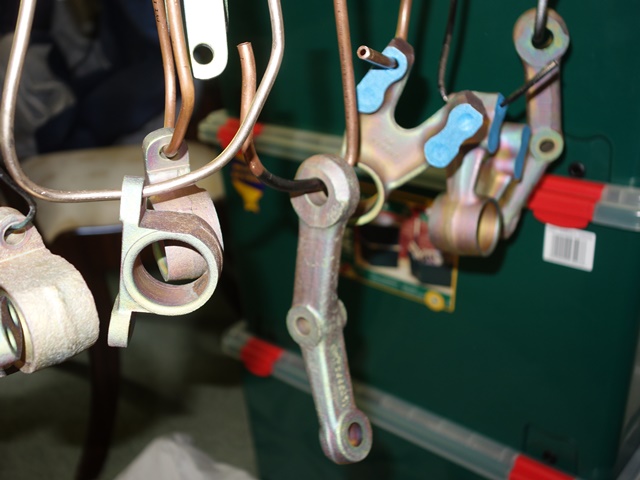
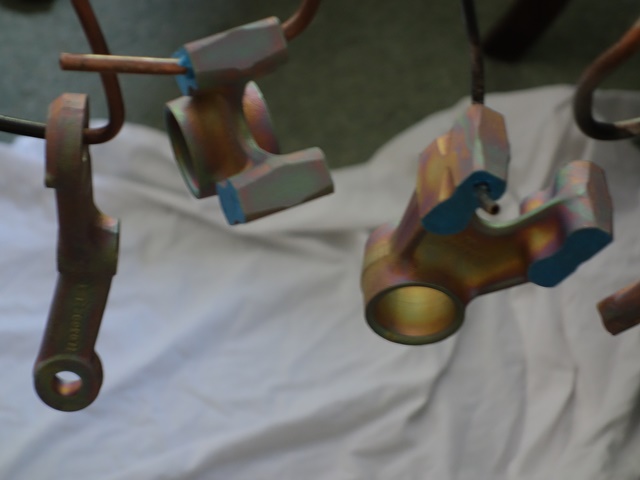
The plating didn’t go quite to plan as I hadn’t expected (or asked!) for the parts to be yellow passivated so the final look wasn’t really what I had in mind. The photos below show the ‘oil slick’ appearance that comes from the yellow passivation. Another lesson learnt – don’t assume anything and be explicit in your requirements!
I’m sure they used it with best intentions, as it provides slightly greater protection, or it’s the default colour but I’m kicking myself now. Still a number of people have advised on painting rather than plating for a more durable finish – now I’ll have the best of both worlds!! Anyway the aim is to drive the car rather than polish it for show!
The bracket faces that are in contact with the engine frames and the fulcrum shafts were masked to avoid any clearance problems later on. All the suspension parts were then given three coats of aluminium Epoxy Mastic 121. The parts were left for a couple of days to allow the paint to fully cure and harden.
|

|
|
It was also time to come off the fence as I needed to decide on whether to use the standard rubber bushes or install ‘upgraded’ polyurethane ones, such as Superflex. I’d fitted polyurethane bushes on my Elise but after several years the bushes would squeak going over even the slightest road imperfection. I think this was probably largely due to the garage not applying the correct grease (if any!) when they were installed.
In the end I’ve decided to keep to the standard rubber bushes, which were fairly easy to press in the bushes using a vice and liberal amounts of washing up liquid.
| Standard rubber bushes were used in the end | rebuilt wishbones and uprights ready to go on | Sealed for life XJ40 lower ball joints were used |
|---|---|---|

|

|

|
I’d been toying with the idea of buying a hydraulic press since the start of the restoration but, each time I’d needed one during the rebuild, the job was farmed out. I couldn’t justify the cost of a press now, at such a late stage, and so took the front uprights, hubs and a print out of the suspension section of the manual to the local garage while I built up the wishbones.
I hadn’t felt the need to state the obvious, that the hubs have different handed threads, because they were clearly labelled ‘LH’ and ‘RH’. Sure enough, when I picked them up a couple of days later, they had put the hubs on the wrong way round! What was that about not assuming anything and being explicit in my requirements!
I thought it would be easier to sort that out once they’re on the car and set about finishing off the simple task of putting the upper and lower wishbones together.
Finally the sealed for life XJ40 lower ball joint units were fitted to the uprights. Far easier than the original set up which required shimming. The suspension parts are now all ready to be bolted on next weekend.
The plan was to install both the front and rear suspension, steering, the engine and gearbox and all the engine bay components with the aim to get the engine running. Unfortunately I’ve not managed to sort out the dreaded fuel tank yet so the testing of the engine will have to wait.
Sorry, the comment form is closed at this time.