Sep 132026
 

No sooner had I got the car running better than it had ever run before, another carburettor related problem arose. I was getting the car out for a blast around the local country lanes when I heard the sound of liquid pouring from underneath the engine – one or more of the carburettor float chambers were overflowing.

Schematic diagram of the SU HD8 Carburettor.
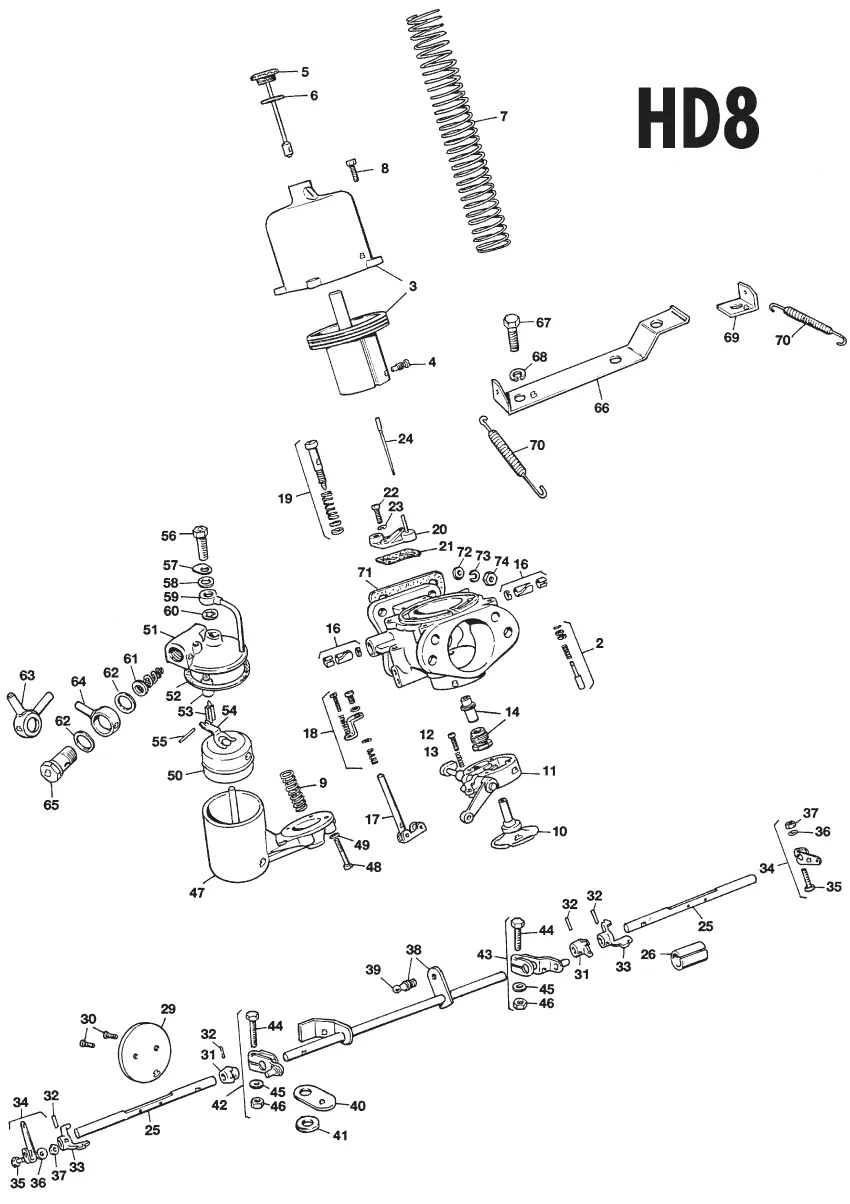
Schematic diagram of the SU HD8 Carburettor.

I’d had this issue several years ago and it is generally caused by one of the following:

  • a sticking float needle caused by debris or build up of fuel gum or ‘varnish’ in the needle seat housing (53)
  • incorrect heights of the float levers (54) operating the float needles
  • a sunken float (50)

In light of the ethanol fuel issues, you could add the deterioration of the float needle’s vulcanised tip to the list.

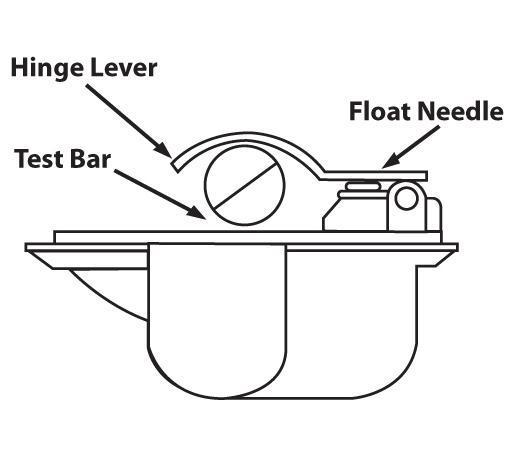
I had previously checked and adjusted the height of the float levers so it all pointed to some sort of issues with the operation of the float needles. The height of the float levers can be set by simply turning the lid upside down so the lever is holding the float needle in the closed position. The correct height should allow a 7/16” (or 11mm) bar to be inserted so the float levers forks are just touching the bar. Any adjustments can be made by bending the lever.

Setting the float lever height Setting the float lever height
All three lids were removed allowing a visual check for the buoyancy of the floats and the lever heights re-checked. All was as expected so the float levers were then removed by withdrawing the pin hinge to enable the needles to be removed.

The front carburettor’s lid disassembled revealed a broken needle tip
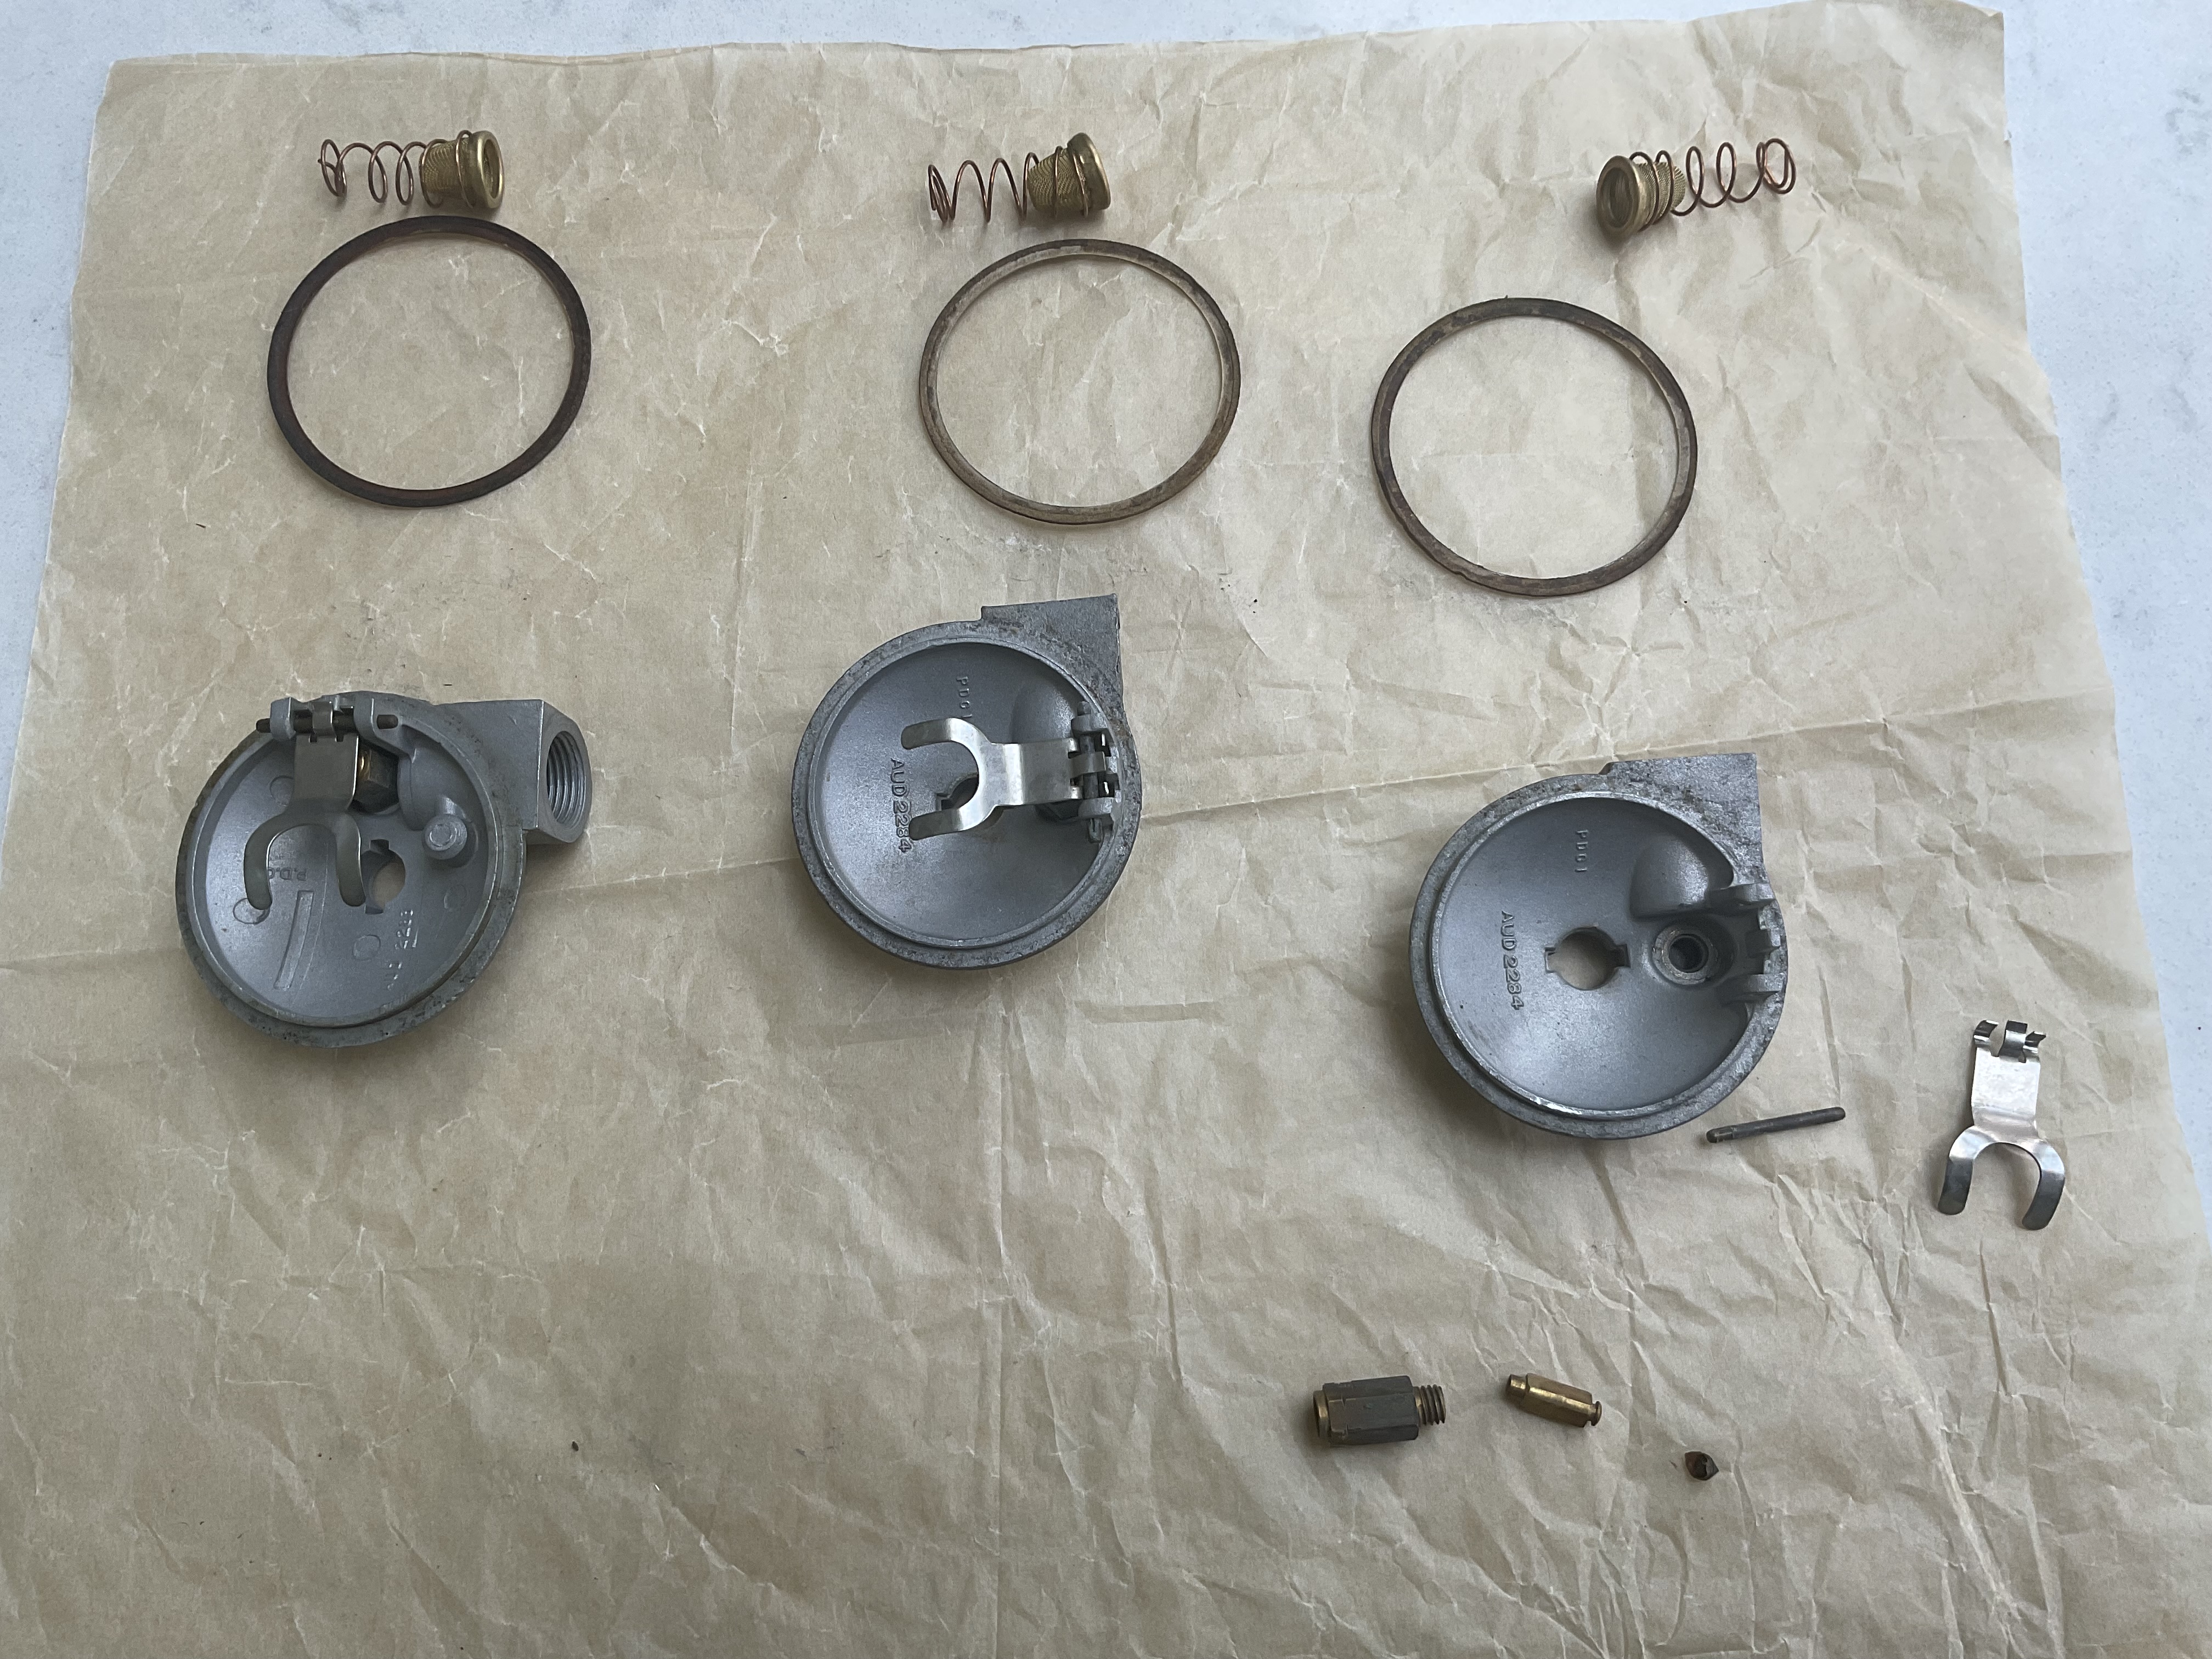
The front carburettor’s lid disassembled revealed a broken needle tip.

The vulcanised tip of the front carburettor’s needle was only partially attached. It looked like at some stage in the past it had been glued back in place and during the inspection just fell off. Again this could have been a result of having ethanol in the fuel which has degraded the tip over time. The other two needles looked fine and so were retained (a poor decision!).

A new needle and seat housing arrived from Burlen Fuels a few days later. The replacement needles now have a Viton tip which isn’t affected by ethanol.

Replacement needle kits now have a Viton tipped needle to overcome ethanol problems
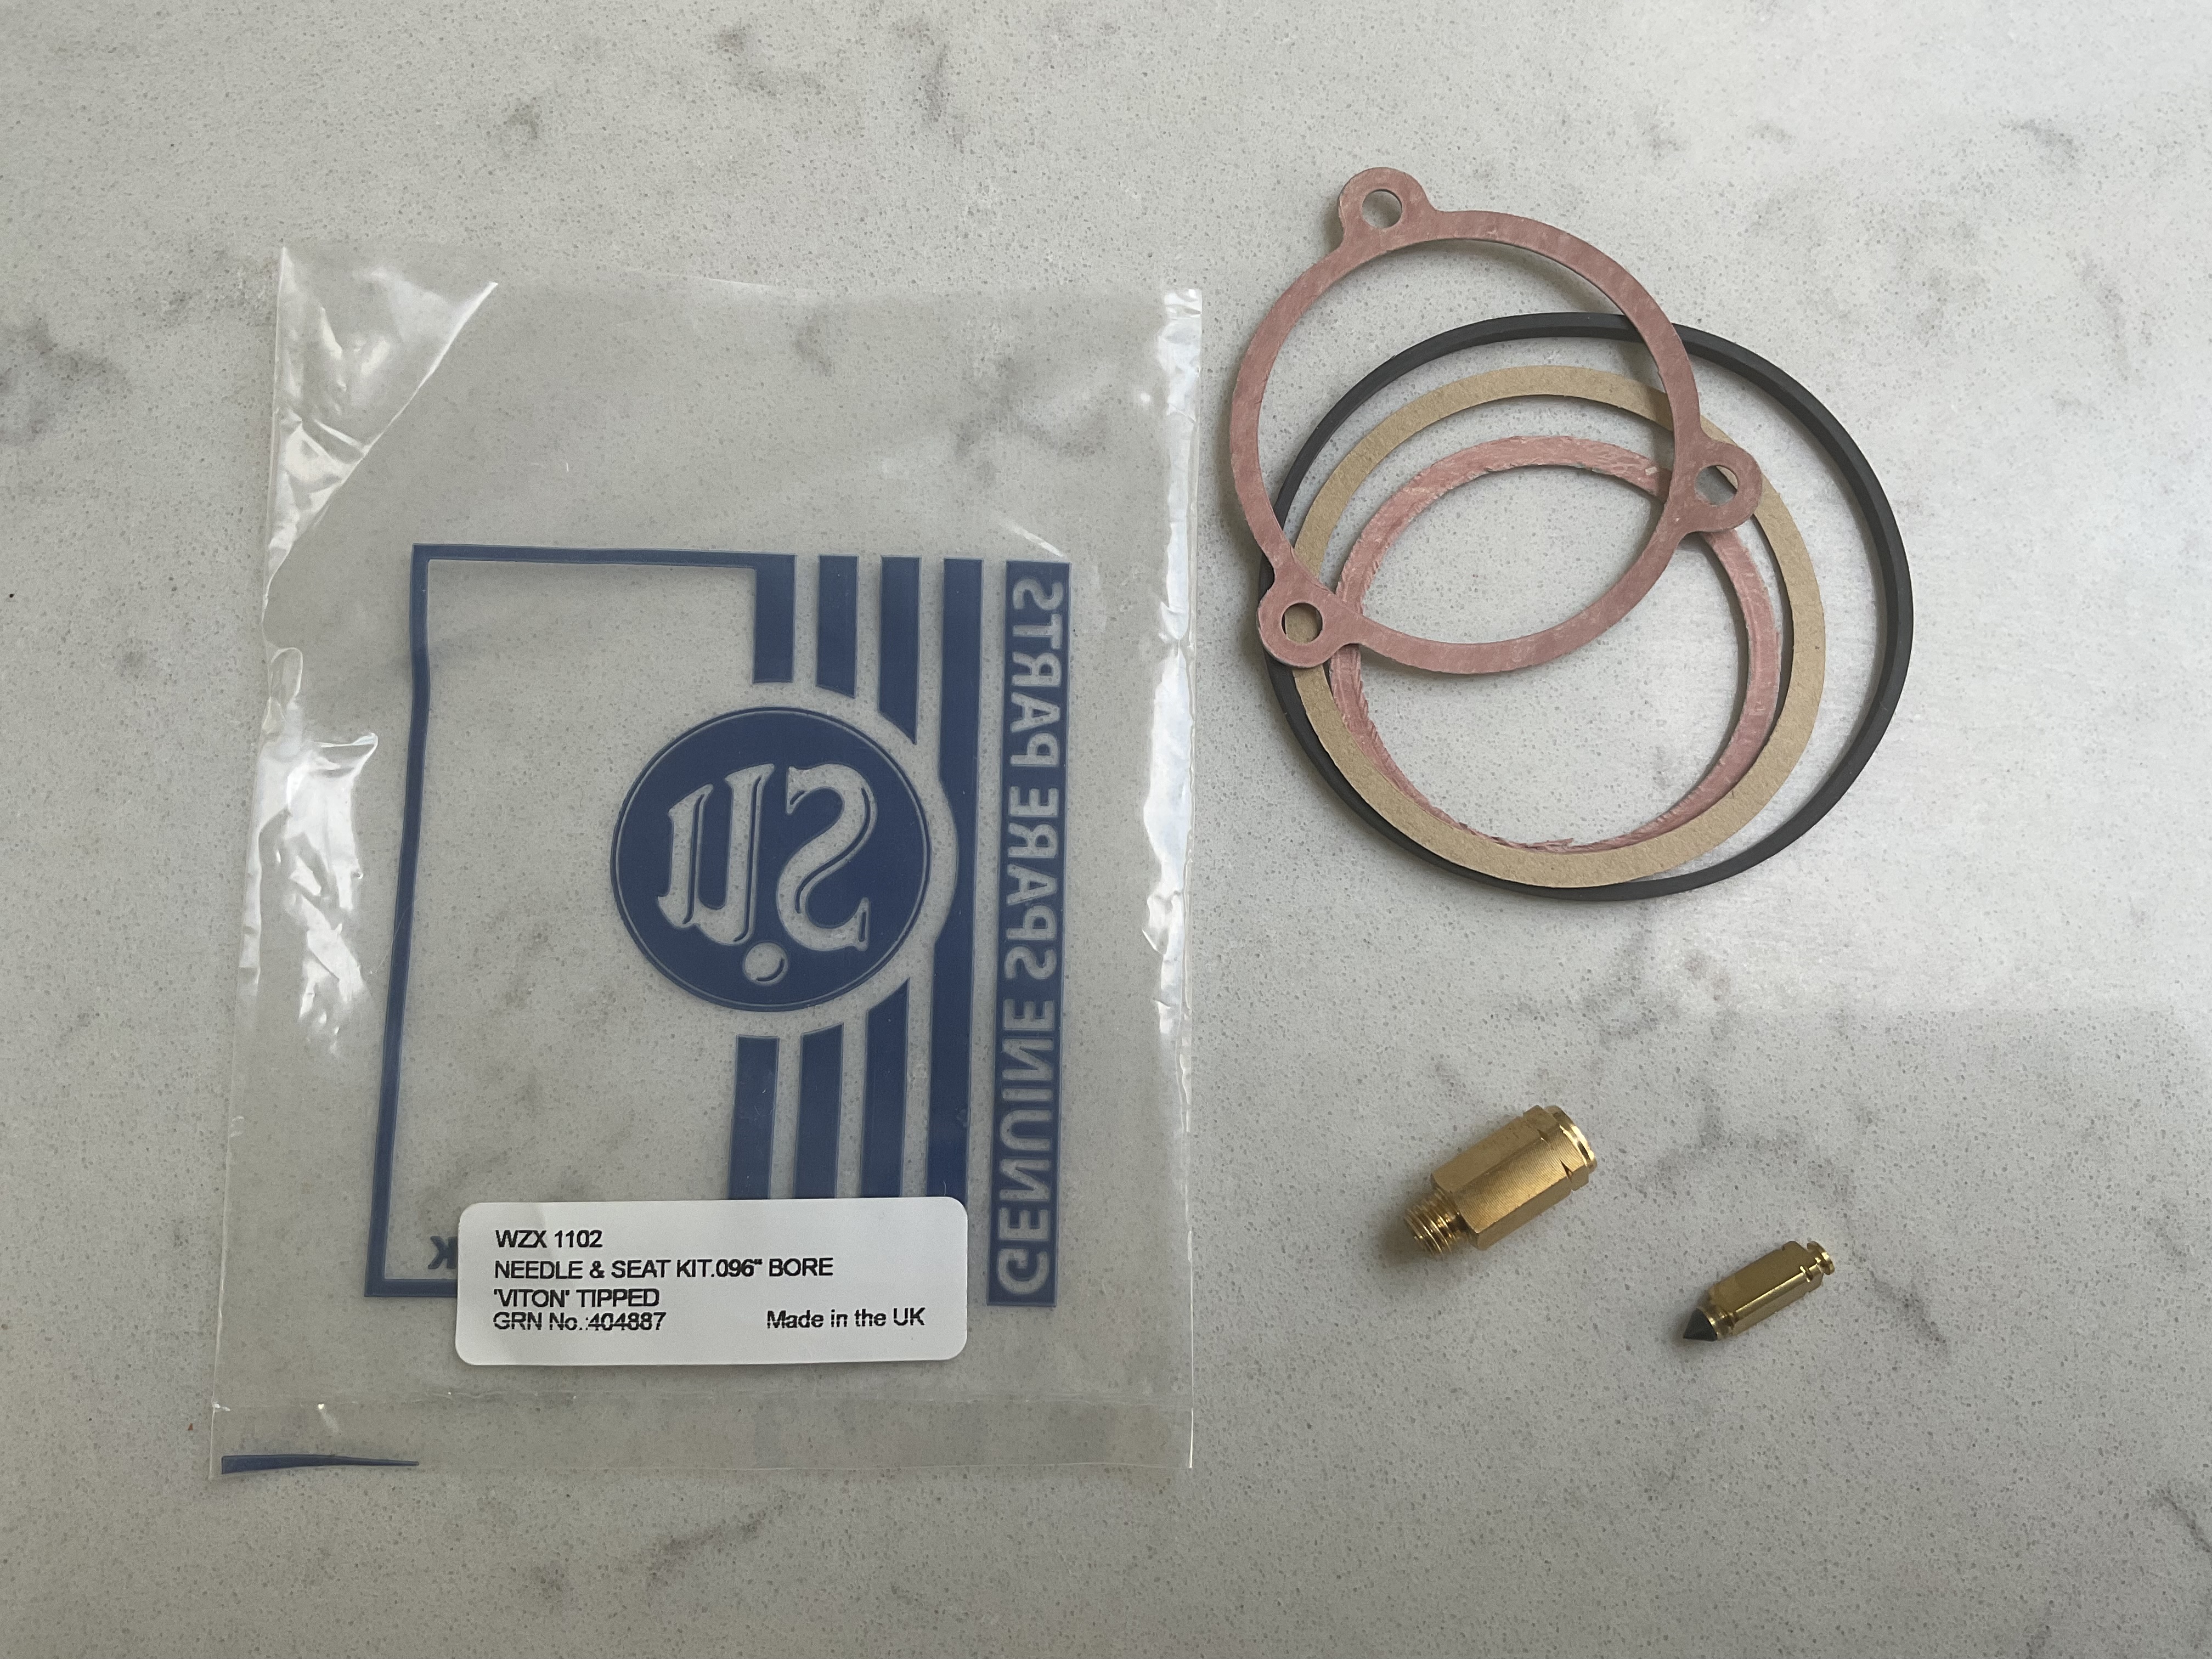
Replacement needle kits now have a Viton tipped needle to overcome ethanol problems

The three lids were refitted back on the car and the ignition key turned to switch on the fuel pump to check everything was now resolved. It is an understatement to say that the now familiar sound of fuel pouring from underneath was a disappointment!

One problem is the ends for the overflow pipes are hidden away next to the oil filter. They’re only clearly visible from beneath the car so it is tricky to diagnose which carburettor is at fault and then get back into the car to turn off the ignition before too much fuel has been discharged.

In the end I had to remove the air filter so I could position a mobile to video the overflow pipes while operating the ignition from within the car. The results were very conclusive – it was the middle carburettor that had the issue …..

If you’re going to do a job, do it once and do it properly! I think it was an eagerness to get the car back up and running that I’d taken shortcuts and had assumed the broken tip of the front carb was the only issue.

Also if the ethanol fuel had been the cause of the issue then it was only a matter of time before the other two would fail. So a false economy only replacing one. Therefore two more needle kits were purchased so it shouldn’t be an issue in future.

I’ve now also taken to using Ethomix Ethanol Corrosion Inhibitor Additive (E5/E10 Fuel Protection) and VSPe Power Plus Fuel Additive whenever I fill up the tank.

 Posted by at 6:41 am
Sep 012026
 

Well if only I had taken heed of the warnings some people had posted regarding ethanol in modern fuels! I had been aware of issues with the eco-friendly E10 fuel so had diligently been using Shell V-Power Unleaded (E5). However all my recent woes (with the exception of the cooling fan) were almost certainly to have been caused by winterising the car with fuel in the car. I had even mistakenly thought that completely filling the tank just before laying it up as the best thing to do.

I had sent off the broken fuel pump to Burlen Ltd to see if it could be repaired. My two diagnoses, admittedly with the ‘help’ of wretched Google AI, were either the circuit board or the inner coil winding. The latter being terminal. Well it was none of these – Burlen investigated the pump and found the values and diaphragm had all stuck So it could be repaired.

The repaired fuel pump ready to be stored with the spare tyre.
John happened to be passing Burlen Fuel so was able to pick up the repaired fuel pump which wil be handy to keep in the boot as a spare … just in case.

This was most likely caused by deterioration due to ethanol fuel sitting in the pump for a long period of time. Over time the ethanol attacks rubber seals such as the fuel pump valve seals and diaphragm, ferrous metals as it absorbs water over time and attacks metals such as aluminium, brass, copper (essentially every component in the carburettor!) and soldered joints found in the rigid sections of the fuel line and the carburettor floats. It’s nasty stuff!

The Burlen Fuels reception areas has numerous cabinets with various carburettor and fuel pumps for all manner of vehicles plus an interesting display about the Salisbury areas war efforts in building Spitfires

Note to self: must organise the promised Spitfire flight soon!

Well back to the main topic, the car had to be left at West Tuning due to issues found with one of the jets which appeared to have sunk below the carburettor ‘bridge’. Ray’s investigation found it was the jet assembly which had failed and there was a hairline crack running along its length. As it needed to be replaced the prudent approach would be to replace all three. That way all the carburettors would be starting from identical baselines.

Each jet had hairline fractures along their lengths

The other issue he found was that the three jets were not identical with one of them having a slightly larger bore. In Ray’s view this and the hairline fractures would have been the reason why it had never been never properly tuned before! More detailed inspection showed all three jets to have hairline cracks. The jets are not parts that should ever be under any form of stress which again pointed to the ethanol fuel as the primary suspect.

The front carb’s jet was different to the other two and had a slightly larger bore so it would have been impossible to balance all three

All three carburettors had to come off the car so Ray took the opportunity to dismantle them and put the parts through the ultrasound cleaner. The needles were again changed from UK to UL due to the introduction of the new jets. Therefore it was over two weeks before the car was finally ready to be returned. Ray has mentioned that although the headline output had only increased marginally the car was much more drivable with more useful power in the mid-range.

The only thing that remained before leaving West Tuning was to take the car out for a quick road test around Thruxton’s back roads. Initial impressions were very positive and these were confirmed on the drive home. The pick up all through the range is so much better. It feels like a different car to the one dropped off a few weeks before.

Since its return it has been taken out every day …. best make good use of the heatwaves while they last!

 Posted by at 7:44 am