
The first task to complete on the newly returned bodyshell was a thorough rustproofing of all the various cavities. I’d already got a 5 litre tin of waxoyl, so I chose to use this rather Dinitrol, which often has good reviews. I actually ended up using 10 litres as most of the cavities were covered within an inch of their lives!
The rustproofing gun purchased from a local auto factors was a good investment as it had an 18″ flexible nozzle to allow spraying deeper into the various cavities. The general advice is to heat the waxoyl and/or thin with white spirits to help it to flow into all the nooks and crannies. So all that remained was to wait for a suitable, hot, sunny day.
Working front to rear, the areas to be treated were:
- Bonnet
- Headlight areas behind the sugar scoops
- Bonnet Undertray, especially behind air intake lip
- Bonnet Air Channels
- Bulkhead
- Behind bulkhead side panels, via hole either side in engine bay
- Dash area of bulkhead
- A-posts
- Heating vents – not entirely sure whether this will prove to be wise!
- Cavities accessed from interior
- Sills – via the three holes in each inner sill
- Inside of transmission tunnel
- Doors, especially frame to skin join
- B posts
- Closed sections behind seats – which would require access hole to be drilled!!
- Boot area
- Inner Rear Wheel Arches
- Boot floor strengtheners
- Rear light/number place section
- Bootlid – the frame and boot skin joint, hidden by frame
- Miscellaneous
- Rear Chassis Legs (IRS support brackets)
- Chassis Floor strengthening sections under car
The rear wheel arches and the bonnet/wing joints will be done with a brush towards the end of the rebuild.
 |
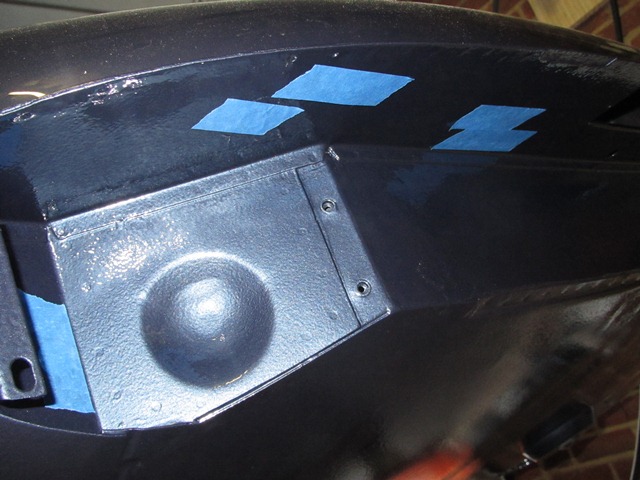 |
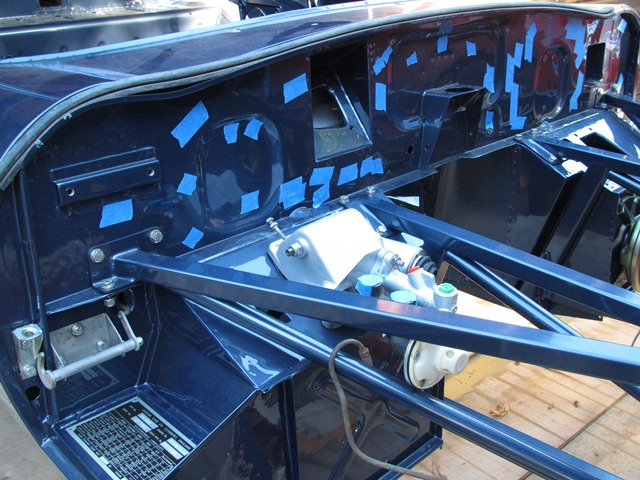
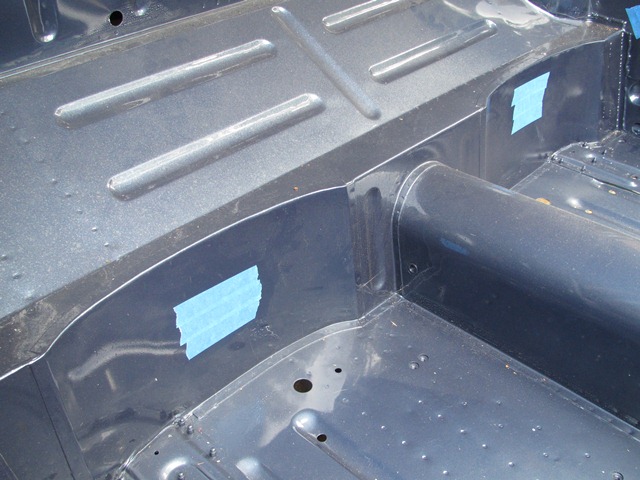
Finally there was a break in the dreadful British summer and decent weather coincided with a free weekend. The various holes in the bulkhead and body were masked in an attempt to limit overspray.
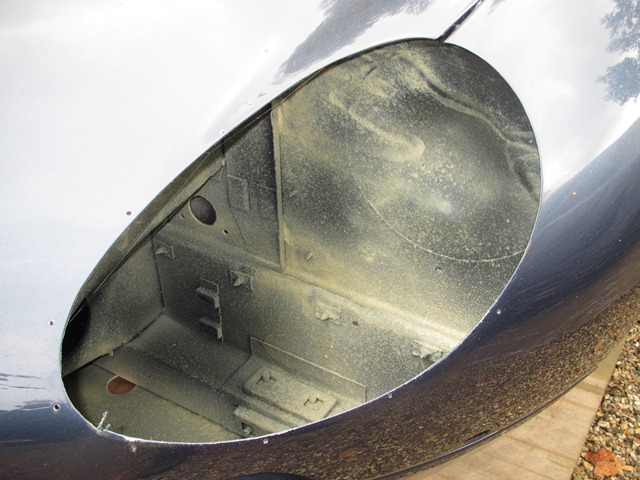
 The only problematic cavity is the closed box section in the rear bulkhead, immediately behind the seat bases. I could either leave alone and risk it rusting from within or drill access holes in my lovely painted bodyshell.
Taking others advice from the E-Type forum, I decided it would be better to protect it as the access hole could be plugged with a blanking grommet which would eventually be covered by the interior trim.
The area around the planned access holes was masked to help protect the surrounding area during drilling. A small pilot hole was drilled before using a 19mm core drill bit to cut the final access holes. Fortunately the holes were fairly neat and tidy but I didn’t enjoy drilling my fresh paintwork!
 |
 |
 |
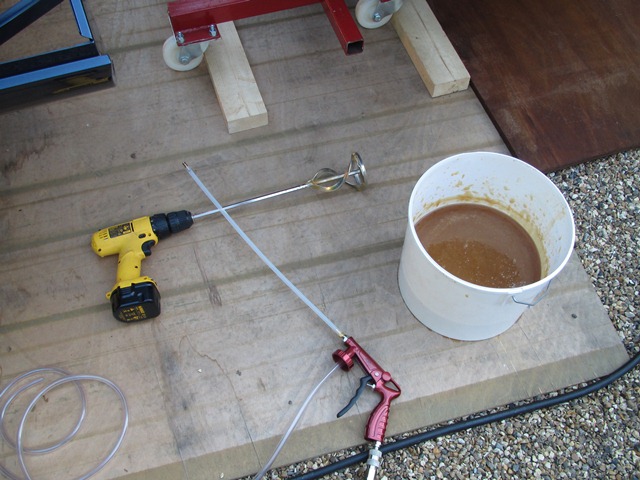
The 5 litre tin of waxoyl had been stored for several years during which time all the solid particles had settled to the bottom. So I emptied the entire tin into a large plastic container and added a small amount of white spirit. It was then heated in a sink of boiling water before being mixed thoroughly using a mixing paddle.
A 2m length of plastic tubing was used to feed the gun with waxoyl. The aim was to give me sufficient reach to get the gun into various cavities without having to continually move the waxoyl container. Fine in theory but far from it in practice!
This caused several problems. The first was that the tube in the waxoyl became soft due to the heat and also appeared to swell (I assume absorbing some of the white spirit). In its softened state it had a tendency to bend sharply, pinching off the supply. This resulted in what can only be described as a backfire causing the waxoyl to be propelled from the container, covering everything in sight!
The second problem was that if spraying was stopped for even a short period, eg moving the container to a new location, then the waxoyl would solidify in the tube. Therefore everything had to be re-heated a number of times.
For the second tin, a shorter length of tube was used and the waxoyl was left in the tin and the tin placed in a container of hot water. This proved to be much more successful.
 |
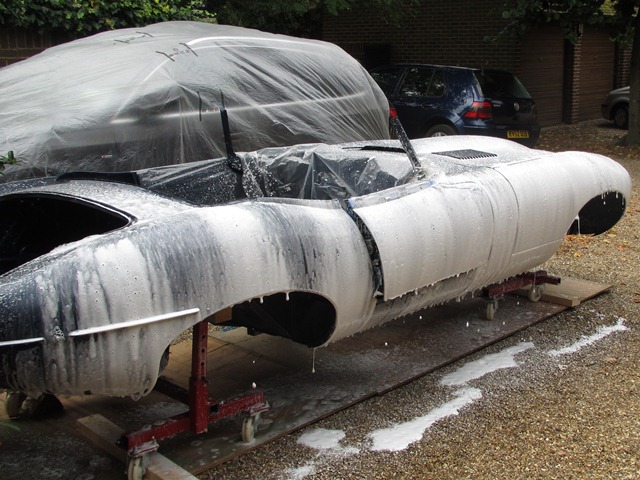 |
All that remained was to clean the car as every single panel appeared to have been the victim of the backfiring problem!
Sorry, the comment form is closed at this time.