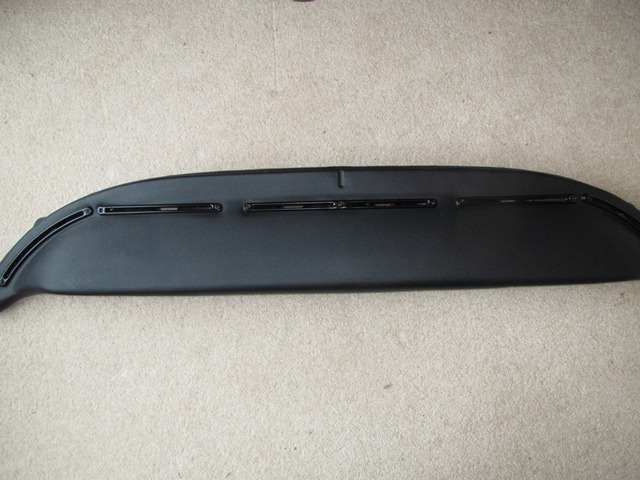
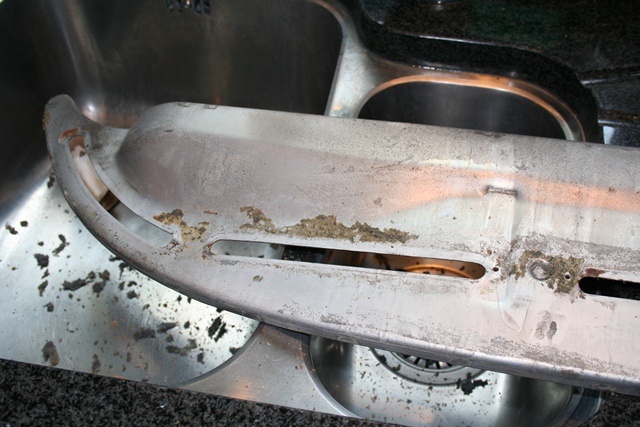
Overall the dash was in reasonable condition. There wasn’t any significant damage to the vinyl covering the three dash sections which was a relief. Although it’s possible to have them re-vinyled, I’m lead to believe that the textured finish isn’t the same as the original. All mine needed was a good clean. Unfortunately the dashtop vinyl hadn’t faired so well and had taken a fair amount of abuse in the past, so that it was now sporting several long tears around the central console area and needed to be replaced.
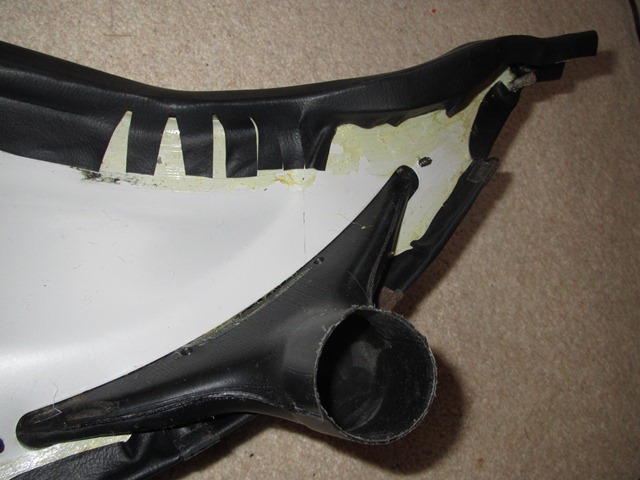
It looks as if the tears had started on the underside where the vinyl had been cut to allow it to be shaped to the curvature of the dashtop frame. Over time these tears had propagated to the top side of the dash. Fortunately replacement dashtops are readily available from the usual sources and have a generous excess for bondcing to the underside.
|
|
|


There’s not much to the removal and dismantling of the dashtop. It’s secured to the bulkhead in four places; at the outer edges and brackets either side of the central console area. The map light fitting was simply removed by drilling out two securing rivets.
|
|
|
|
|
|
|
|

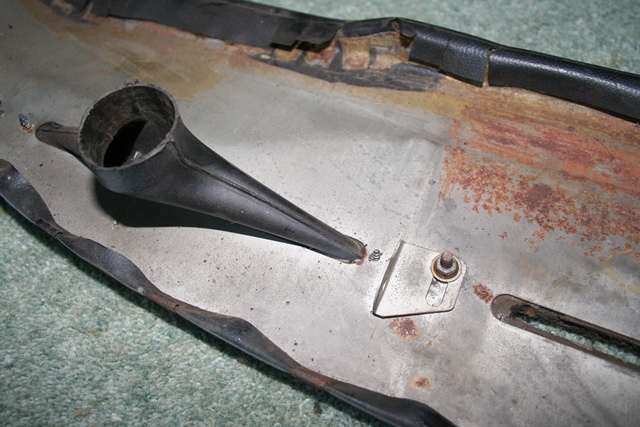


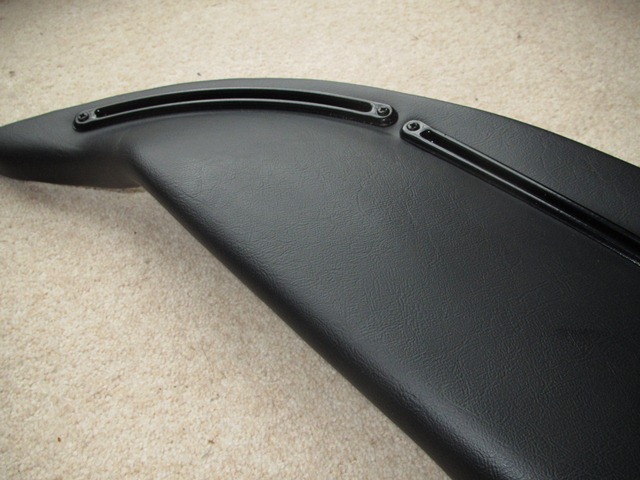
The heater vents consist of plastic ducts, which are pushed through slots from the underside of the metal dashtop frame, and painted air duct surrounds. Two self tapping screws hold the surround and duct in place. All the surrounds had started to rust, presumably from airborne moisture carried into the heater blower from the engine bay, and so were to be lightly bead blasted and then powder coated. Annoyingly the powder coaters gave them a gloss finish rather than the requested satin. Hopefully they won’t be too distracting by reflecting too much sunlight.
 I decided to powder coat the metal frame in light grey rather than re-plate it. All that was required was to remove the old vinyl top and clear off any remaining contact adhesive. At some time in its history the car must have been resprayed as there was quite a bit of overspray on the outer two air ducts. I still can’t work out why, as it would have been harder to get overspray there than not! However the overspray came off fairly easily after a good scrubbing.
First the plastic ducts must be refitted into the slots in the metal frame, before bonding the vinyl dash top to the metal frame using high temperature contact adhesive. Once glued in place the edges were softened using a heat gun which allowed them to be moulded to the shape of the frame before being glued to the underside. The final tasks were cutting slots in the vinyl for the air vents before refitting the surrounds and riveting the map bulb holder back in place.
|
|
|
|


One of the popular upgrades many owners are making is to improve the dash lighting by replacing the incandescent bulbs with LED strips. The backlighting of the gauges and the map lighting were fairly poor at best and the bulbs also generated a reasonable amount of heat. Therefore my next task is to install white LED strips to replace the map light and install coloured LED strips in the gauges.
|
|
|