
I had been waiting on the completion of the front suspension components so that everything would be in place to transform it from a bodyshell to a rolling chassis; installing the front & rear suspension as well as the engine over a weekend. I even dared think we might be able to have a stab at starting the engine.
I had read and re-read all the available manuals a number of times to produce a detailed list of tasks that needed to be completed prior to and over the installation weekend.
 The first task was to adapt the original IRS trolley I’d made; reducing its footprint to a little larger than the base plate of the IRS cage so it wouldn’t get in the way during installation, giving it sufficient ground clearance to allow the trolley jack to be inserted underneath and raising the height of the cage so the wheels could be put on while on the trolley.
I’m not sure about the need for the latter but it made sense at the time! The aim was to be able to lift the IRS and trolley to meet the chassis.
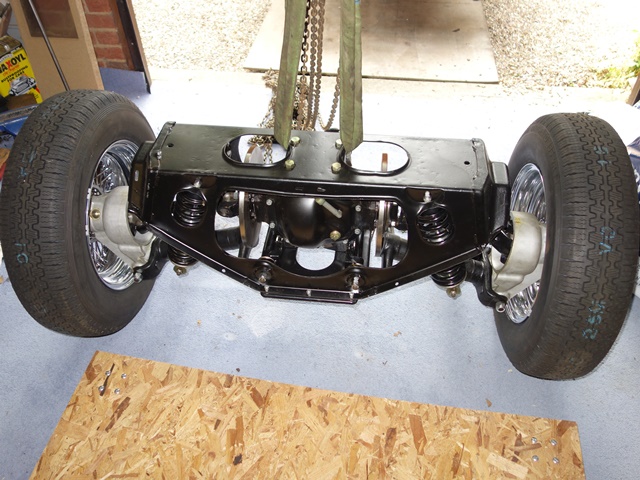
A number of other tasks before the weekend involved the IRS unit which had been sat on its trolley for over a year. Even though it was dry stored, the caliper plating had already deteriorated in this time. These were removed and painted in a tough, silver caliper paint and a remote bleed kit fitted.
The IRS cage had also picked up a variety of scuff marks when it had been delivered and moved around. It was therefore given three coats of 2 pack black paint and two clear satin coats. I didn’t have the luxury of a spray booth so boards and boxes were used in an attempt to keep bugs and leaves off while it dried.
| Masking up on the smaller trolley | Attempt to keep bugs off | Re-painted – not much different! |
|---|---|---|
 |
 |
 |
The planning was finally over and the installation weekend had arrived. Much needed help was drafted in, John had been granted a pass for the dereliction of parental duties who then managed to persuade Martin to travel down to complete the line up. Both had ample engineering knowledge to complement my tea making skills!
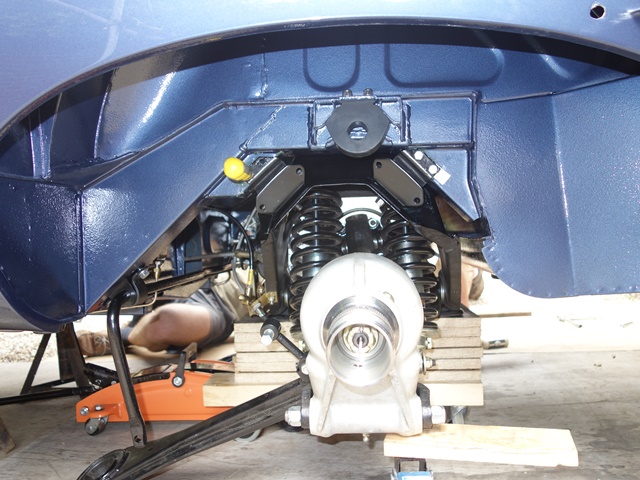
Four Metalastik mounts connect the corners of the rear suspension cage to the chassis. Restricted access during the fitting the IRS unit is overcome by pre-fitting the rear mounts to the chassis and the front mounts to the IRS cage. ‘All’ that remained was to raise the IRS to the chassis and fit the remaining 8 bolts. I had foolishly assumed this would take an hour or so at most.
 None of the bolt holes were close to lining up. Hmmm. The IRS was removed and all the mounts then fitted to the cage in order to compare the centre to centre distances. The C2C distance between the mount holes was 6mm greater than the chassis holes.
As they are attached at an angle of 45 degrees, this would need each rubber mount to compress by √2 x 3mm to obtain hole alignment. So they became the prime suspect in the fitting problems.
A few tests of a mount in a vice suggested that it might be possible to achieve the necessary compression in the rubber section but exactly how was still to be determined. So the decision was made to continue rather than abandon the installation weekend.
The front of the chassis was raised in relation to the rear in an attempt to use the weight of the car to compress the rubber in the rear mounts. It still wasn’t sufficient – we needed more weight in the rear. A few moments later, Martin and I were standing in the boot while John assessed whether this had achieved anything other than a comical moment.
 Eventually each bolt was persuaded one by one until the IRS had been fitted. A successful method was to insert a screwdriver into the second bolt hole to lever the first bolt hole into alignment and then tap the bolt home. I later found out that such fitting issues were far from uncommon.
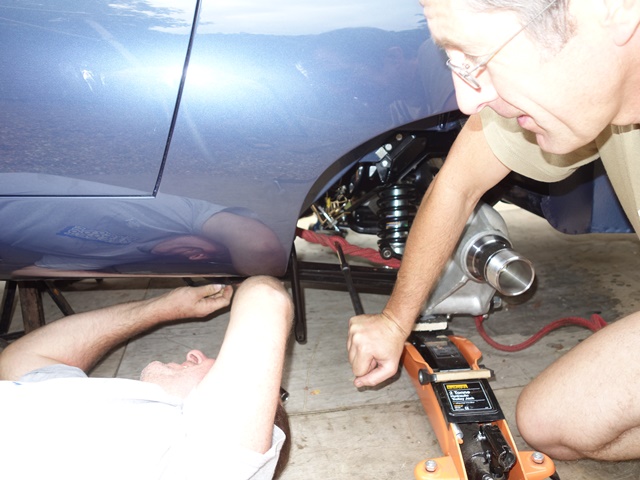
We just needed to connect the radius arms to complete the job. Unsurprisingly they were also a country mile off fitting on to the cups on the chassis and were also twisted in relation to the cups because there was no load on the suspension. The solution was a three man job. John applied a tourniquet to draw the IRS cage forward so the radius arm and cup aligned. At the same time I rotated a G-clamp attached to the radius arm while Martin fitted the retaining bolt.
| Just the radius arms to go | Applying a tourniquet to pull into alignment | G-clamp was also needed |
|---|---|---|
 |
 |
 |
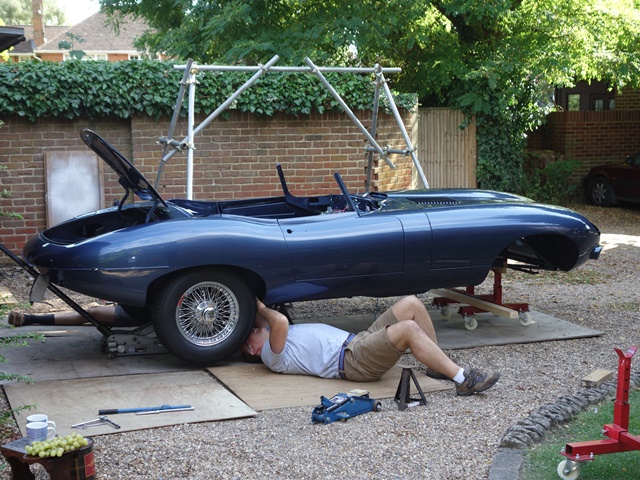
Almost the entire day had been taken up with fitting the rear suspension but at least we had the satisfaction of finally lowering the car onto two of its new 5″ wheels. I had been wildly optimistic on what could be done in a day but nevertheless was pleased with what had been achieved.
 |
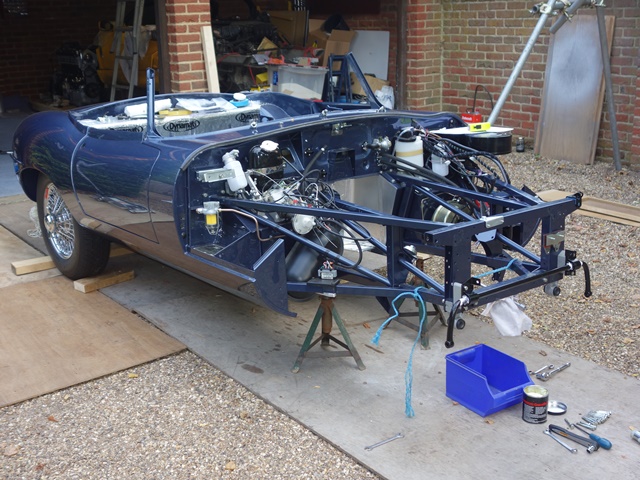 |
The front suspension and engine would have to wait for another day ….
Sorry, the comment form is closed at this time.