
Fortunately the vinyl covering of the dash fascia was in a reasonably good condition and just needed a good clean. Even though only a very mild detergent was used, the cleaning couldn’t bring back the lost sheen and depth of colour. After cleaning, it had an almost whitish appearance in the lower areas of the textured finish.
Apparently vinyl can ‘dry out’ and harden over time so I applied some trim restorer (Gtechniq T4) to see if this would help. The product is simply wiped on and left to dry. It worked a treat in restoring a deep black colour and satin finish. The photos below show the difference in appearance with and without the trim restorer (although the treated areas appear slightly glossier than in the flesh).
 |
 |
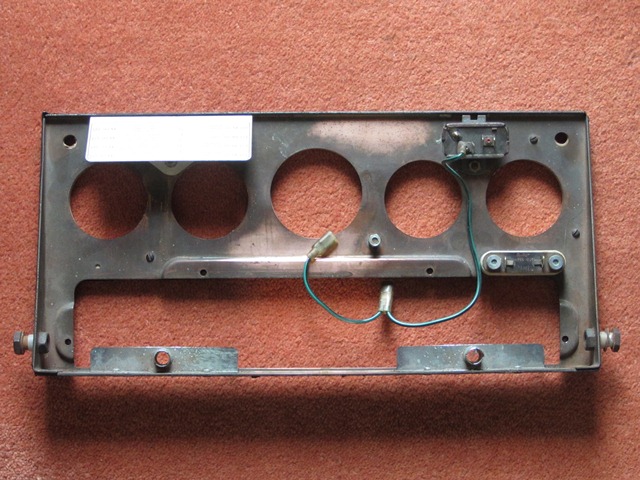
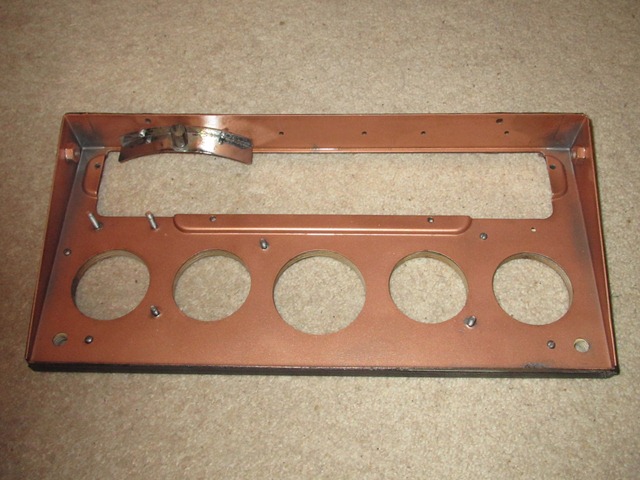
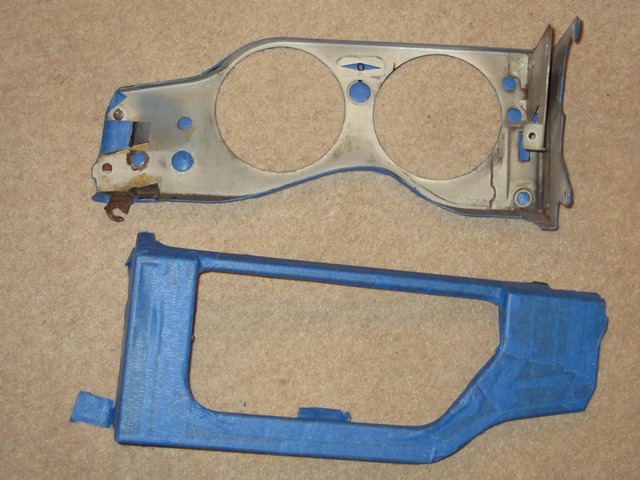
The rears of the facia were treated to a clean-up: Brasso for the copper plated central instrument panel and paint for the outer facia panels. The outer panels were showing signs of rust through the plating in places but it’s not possible to re-plate due to the vinyl coating.
 |
 |
 |
The heater, demister and choke controls were also all looking rather shabby as areas of the wrinkle paint had been worn away. Rather than go down the route of powder coating these, like the cooling fan shroud, I decided to try to get a decent wrinkle finish using an aerosol can ….
 |
 |
…. well four in fact! For the first attempts, Halfords own brand of wrinkle paint was used. Utterly useless! The nozzle failed on the very first application, leaving paint spewing out around the nozzle until the entire can had discharged. I should have opted for the refund but foolishly decided to persevere instead. I’d got through almost the entire can (and my patience!) trying to get anything near to either an even or a wrinkled finish. Both? Forget it.
Common sense returned and I took great pleasure in hurling the remainder of the can into the bin. The next Hycote branded can came from an Auto Factors and wasn’t much better. In a final attempt, I purchased a can of VHT wrinkle paint as I’d found their products to be quite good when painting the alternator and back of the heat shield.
A mock up bracket for a boot light switch was used as a test piece. The instructions were followed to the letter: 3 coats of paint with exactly 5 minutes between applications. The paint goes on with a smooth glossy finish but soon wavy ripples appear. VHT recommend curing the paint by heating to 93 0C for an hour. Two test applications were made: the first left to dry naturally for several days before being cured while the second was left for five minutes before being placed in the oven.
| A gloss finish initially | Dried in ambient temp | Oven dried finish |
|---|---|---|
 |
 |
 |
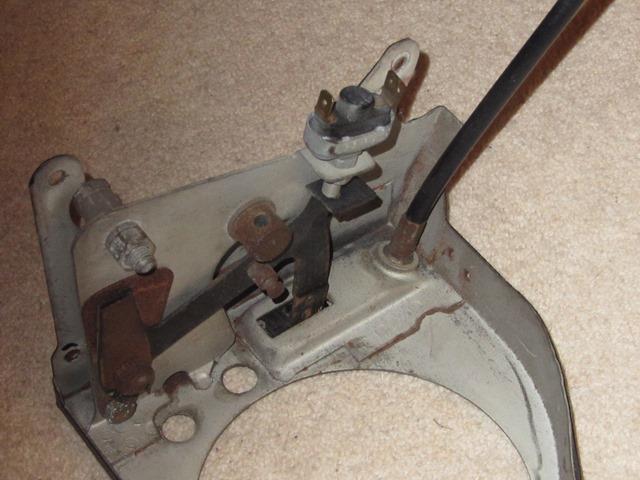
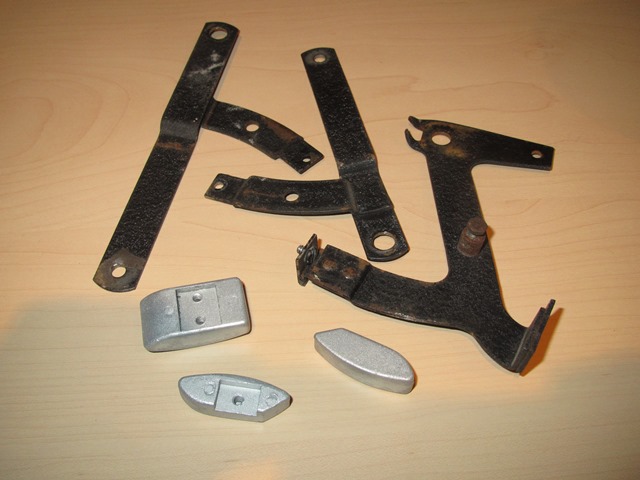
I preferred the more wrinkled finish produced by immediately curing the paint in the oven. It was easier to spray and cured one side of the levers and knobs at a time. The heater and demister levers simply pivot on the mounting bolt. However the movement of the choke lever is given an incremental feel by a leaf spring pressing a ball bearing, located within a hole in the lever, against a plate with evenly spaced ball bearing sized holes.
| Oven curing | Heater & Demister levers | Choke lever, less leaf spring |
|---|---|---|
 |
 |
 |
A couple of practical but discreet enhancements require holes to be cut into the cardboard glove box. So, rather than butcher the original, a replacement glove box was fitted although like most reproduction parts it wasn’t a brilliant fit.
The top of the glove box is held in place against the facia by a retaining bracket while the bottom edge was originally secured with bifurcated rivets. The only suppliers of these types of rivets sold them by the 1000 and were based on the other side of the world. So standard 3.2mm pop rivets with washers were used instead.
There needs to be a gap between the facia panel and the bottom of the glove box in order to slot in the under-dash cardboard trim panel. Therefore suitably size spacers were needed over the rivet – 5mm thick M3 nylon washers were just about spot on.
| Securing bottom of glove box | USB and Megajolt sockets | Connections hidden from view |
|---|---|---|
 |
 |
 |
As almost all modern gadgets are now powered/charged via the ubiquitous USB socket. I thought it sensible to tuck a double USB socket in the glove box to power phone chargers and Sat Nav while being out of sight. The sockets will be powered once the ignition is switched on.
The EDIS Megajolt unit for the electronic ignition can be programmed by connecting it to a PC via a serial port connection. To avoid needing to remove dash trim to reprogram, I’ve also put a 9-pin serial socket in the glove box. This is permanently wired to the Megajolt unit so any future programming of the electronic ignition system should be a doddle.
The outer heater and demister cables are clamped to a bracket mounted on the bulkhead. The only error I made was to connect up the interior heater valve cable before routing the inner cable through the valve’s trunion in the engine bay. It’s then impossible to fit the trunion onto the heater valve.
The positioning of the USB and serial sockets had to take into account the rear clearances as well as the routing of the demister tubing. With the dash fascia completed, next I’ll have to tackle the LED lighting for the various instrument gauges.
 |
 |
Update:
A while back I had been looking at adding either intermittent or even automatic wipers. However I’d shelved the plans as I hadn’t come across anything that could easily be reverted back to the original setup.
 Once again a couple of the main protagonists on the E-Type forum had investigated suitable units and worked through how to incorporate it into each of the E-Type variants. So other owners wishing to do likewise have detailed fitting instructions and needn’t go through the pain of trial and error installing it. It even covered various mounting positions; either using a blanked off hole in the dash or more discreetly under the dash.
I decided to mount the intermittent wiper module, manufactured by Hella, in the hole in the dash above the Handbrake/Brake Fluid warning light. I’m not sure what this hole was originally used for. I assume either something specific to the FHC or an optional extra. However it was just blanked off on my car.
The unit works by producing a power ‘pulse’ which mimics switching the wiper motor switch on and then off. The wipers start to operate but, as the power is removed almost immediately, the wipers will stop the next time they reach the parked position, ie after performing a single wiping cycle. The frequency of the intermittent wiping is simply varied by turning the unit’s potentiometer knob. I’m not sure about the style of the knob so it might be replaced with a plain black one at a later stage.
 |
 |
 |