
The installation of the fuel tank had taken a number of fitting attempts and required the enlargement of one of the mounting holes. The toing and froing had inevitably resulted in a couple of light scratches inside the boot space. So I decided to remove the tank for a final time to paint the exposed metal in the mounting hole and touch up the scratches.
The tank was completely wrapped in sheets before extracting it to avoid further scratches. As it was being lifted clear the sheet snared on the corner of the flange for the boot boards, stopping the tank in its tracks and putting me off balance …. the tank came down on the rear wheel arch!
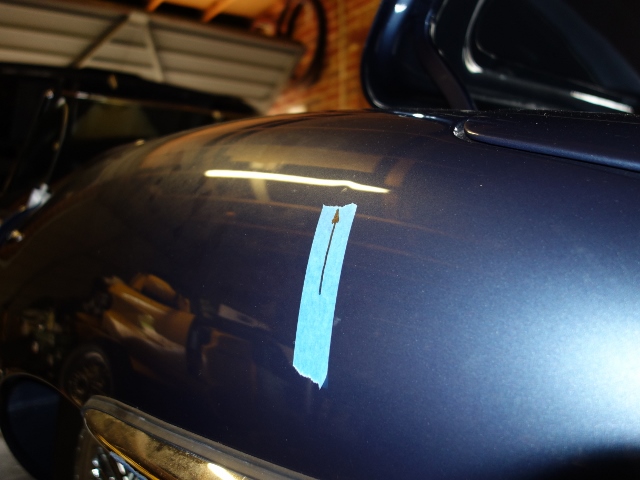
Even though it was the lightest of landings, the weight of the tank was sufficient to put a dent in the wheel arch. It was less than a 1cm long but, as its on a double curved surface, it stood out like a sore thumb. Absolutely gutted!
| Even though it’s a small dent, your eye is drawn to it | The irony of it all: it’s hard to photograph! |
|---|---|
 |
 |
The only saving grace was the sheet had offered some protection and the paint wasn’t damaged. I’d seen companies offering a paintless dent removal service. It had to be worth a go so I contacted a guy operating under the name Dr Dent.
His toolkit appeared to consist of a vast number of levers in all shapes and sizes which are used to press out dents from behind. A couple of minutes later (most of which was spent chatting!) and he was out with the polisher – job done! Even right up close, I can’t find where it was dented. Needless to say I would thoroughly recommend him if you’re equally careless!
| Good as new! Chuffed! |
|---|
 |
You didn’t tell me! You can’t be trusted on your own